Showing posts with label home. Show all posts

Friday, July 13, 2018

light canopy


a couple of weekends back, T and i finally tackled a long-awaited to-do (even longer than our pipe shelving diy) - the light canopy for our back patio! we made one in our first place together but it broke after several months. the squirrels at our old place chewed through the wiring and the winds snapped the wooden poles. we learned a lot of lessons with our first canopy and couldn't wait to have a re-do with this project a second time around. 
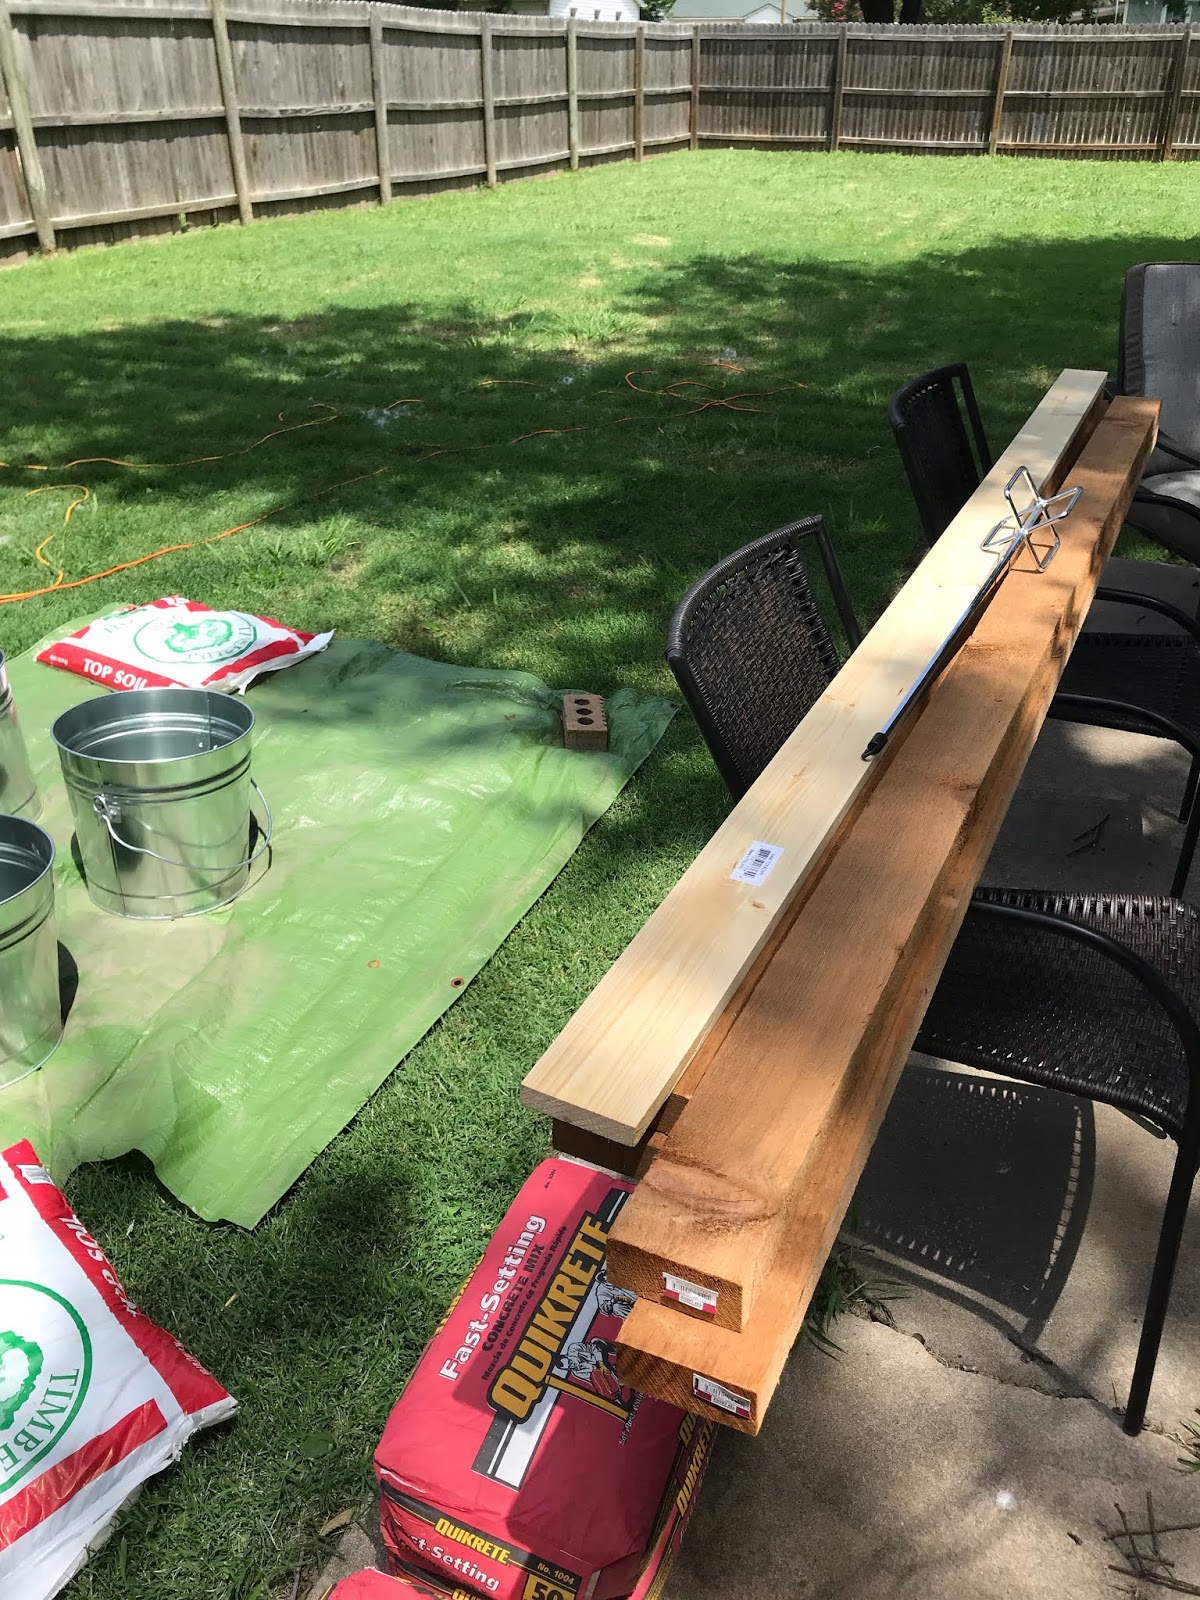

[first lesson to use: thicker wooden beams and instead of concrete poured into the ground, it is poured into buckets that can be moved or thrown out]


[our favorite mosquito deterrent and all natural, aka the true mvp of this project]


once the concrete was poured, beams set and leveled, T drilled holes into the sides of buckets to help with drainage. then, we added small pebbles to cover the concrete and provide extra drainage for future planting. 


[T hanging our lights]


[second lesson to use: solar lights instead of plug-in, and fingers crossed squirrels don't attack these wires]


once the planters had settled, we added in soil, compost, and healthy citronella plants. i am all for greener solutions to keeping those pesky mosquitoes at bay. plus, as they grow, they'll fill in the rest of the buckets. win-win! 


[enjoying the fruits of our labor]


Friday, November 24, 2017

pipe shelving


you know those house projects that have been on your to-do list for a long time, but, for whatever reason, keep getting put to the back burner? our pipe shelving project in our dining room was at the tip top of that list since we'd first moved into our home. but, for loads of reasons - not enough time, not the right time, the financial commitment, etc, etc - it kept getting pushed to the wayside. 

then, at our three year home-aversary, after a recent decluttering, it felt like it was the perfect time to cross this project off our list. 


when we first moved in, we initially placed a bookshelf there, but found it cut off the room. over time, we realized it created a bottleneck effect when the pups were charging out the door, or when we had groups of friends over. plus, it never felt like it was the right fit for the space. 


[T measuring out the space]


our hopes for the shelves were to create better looking storage that could tie this wall into the sort of industrial-rustic look we have in our home. 


the result? greater than we could have ever hoped for. i could finally bring in my cookbooks so that they were in a logical place while being closer to when and where they'd be used. plus, all of our kitchen gadgets and trinkets look so much better. an added bonus was that it finally opened the room back up aka no more bottlenecking - yes!

Wednesday, November 8, 2017

grow your goods


this year marks our second year growing our garden goodies, and i have to say, i feel like i started to get the hang of it. last year felt like it was all trial and error, whereas this year i felt like i got to reap the rewards of my (very little) experience. overall, we stuck to similar plants, and introduced a few newbies to the group. 


the florals (not all pictured): knockout roses, mini roses which have now quadrupled in size (oh my!), rose of sharon, milkweed and lantanas aka all plants to help attract healthy pollinators like butterflies, and my personal favorite, the honeybee. 

herbs/veggies (not all pictured): citronella, lavender, mint, thyme, italian and greek oregano, sage, rosemary, garlic (purely as a companion plant for the sage, and not to eat), rosemary, lemon balm, scallions, parsley, chives, and basil. 


[my latest newbies: parsley and chives]


[l to r: lemon balm, scallions, and basil]


[checking for garden pests]


what i learned this year was to trust my gut when it comes to tending to our garden. i let my sage bloom for about a couple of weeks too long without trimming their flowers. because of this, it caused my sage to stop producing leaves and focus on reproducing. next year, i'll trust my intuition on keeping our plants healthy. 

my goals for adding in new plants next year would be to plant nasturtiums and marigolds to act as additional pollinators, and companion plants for our goods. now that this year's growing season is winding down, and i already can't wait to see what i can do next year!

Friday, April 14, 2017

greening thumb


[last year's bounty]

for some, i know this isn't the most exciting topic, but T and i have gotten into gardening for the past couple of years. we are still very wet behind the ears in experience and knowledge, but have quenched a growing thirst for cultivating our own goods. it started from the tiniest of complaints - the quick deterioration of grocery store herbs and their expense. i can't tell you how often i have bought basil only to have to return and get more after two days when it goes bad. 

so, we started small, working our way up with each success, and learning from our failed attempts. currently, we've started working towards this year's harvest, and i can't wait to see what comes of it. once our garden has reemerged, i'll post an update. but, fingers crossed it goes well. 


[a colorful path]

Wednesday, October 19, 2016

record wall


two home projects in one month? that's right! this one took awhile to complete, but not for cost or time. i'd been trying to find the right idea for this wall since we'd moved in, but came up short time and time again (see the below two photos). nothing quite felt right, if that makes any kind of sense. but, i knew in time, i'd think of the right set up for this spot. 


what first led to the change was T and i setting up our record player and speakers in the living room. it simply had the best acoustics in the house, and only made sense for it to go there seeing as our bar was in the same room. with our ever growing music collection, i had to sort out a way to display them where they wouldn't get damaged, could stay organized, and provide ready access for our enjoyment. 

countless pinterest searches and instagram hashtags made for several months before i found the source of my inspiration (sadly, now lost). isn't that funny how ideas work? you can see so many no ideas before you need to see just one that is a yes idea.


[boba supervising my record sorting]


[clean floating shelves, ready for records]


T and i absolutely love how it came out, and just like goldilocks, it fits just right. we'll eventually refinish the wooden stereo cabinet, but for now, we are going to enjoy the fruits of our labor with (you guessed it) a few records and a cocktail. 

Friday, October 14, 2016

home improvement


it's been well over a year since our last home improvement diy, and i have to say, it feels good to work on home to-do's again. after finishing our den floor last summer, we were a little burned out on home projects. so, we put our plans on hold, and simply enjoyed our home how it was. 

then, after some time had passed, we were ready to get back into working on our home. for our first project, we tackled a living art wall. 


feeling inspired by oh joy's post, we started looking at the best room for this project to go in. i wanted the piece to be low maintenance, so the bathroom seemed to be the best fit. since air plants only need the occasional mist of water, the bathroom was just what the doctor ordered. 


[supplies]


[air plants from mexico courtesy of my grandparents]


[securing the yarn]


[first color, done]


i decided to use charcoal (to tie into the gray in our towels), and purple (as a pop of color) for my yarn colors, and i have to say, i love how it turned out! put against the blue-grey hue of the air plants, our living art wall has now become my favorite part of our bathroom. 


[hey there succulents!]

Monday, October 19, 2015

homeowners: year one


[backyard views]

it has officially been one whole year we've lived in this sweet little home of ours. and while we have only just begun making it our home, it feels all the more cozy; full of meaning and intention. even though T and i are still novices in home-ownership, we have learned a few things along the way. so, i of course thought i'd share :)
  • measure, measure, and measure again: you really cannot measure enough. also, you may want to write it down in more than one place.
  • making your house your home doesn't happen overnight: unless you make bank (and have no budget), save your money and take your time to find what you really like. this way, you don't needlessly spend extra funds on things that are quick fixes. 
  • you will go to home depot and/or lowe's at least once more than intended and it is completely okay
  • there will always be a project or area you'll want to work on: it never ends, in the best way. as you change, your needs for the house change, so you'll inevitably find a new project to work on. this is a good thing. 
  • know when to diy and when to hire someone: this one will save you in the long run. there are no heros when it comes to these decisions. plus, your back will thank you. 
  • messes & knicks aren't a bad thing: when something is new and fun, it's natural to want to keep it that way. messes mean a home has been lived in, loved, and cherished. that being said, you should still look after it, and maybe clean spills. 
  • get a second and even third opinion: while it may feel like it is rude, it really isn't. in fact, it is completely normal, and unoffensive to companies or contractors. this truly was our lifesaver when it came to a plumbing problem that turned out to be a small inconvenience as well when our den flooded and we were initially told we'd have to tear up the whole room.     


[our well-loved kitchen]


[one of my favorite momentos + a teensy pumpkin]


[a comfy spot for someone to chew their bone]


[succulent window box]

Friday, October 2, 2015

under construction: den update


so, i realized it had been a couple of months since i'd posted an update on our den. since my last post, here's what has happened...

once the floor completely dried, T worked with our contractor to seal it. at first we weren't sure if the solution was to tear up the floor and re-do it since it had cracks in it. but, our contractor assured us that as the ground moves and the concrete ages, this is typical. plus, none of the cracks were large enough so, the best solution was to seal them up. this involved deep cleaning the floor, letting it dry, applying the sealant and keep it damp for four days to let is set properly. after that, it was primed and ready for the next step.


prior to tiling, T and i cleaned the floor of any excess sealant residue so it was ready to go. then, the hiccup came...our floor wasn't completely level. thankfully, our contractor again reassured us that this too is common and there is a very simple way to fix it (see the blue and orange plastic tags above). it just meant that it would take a little more time to complete since it had to be done in stages. 


then, once the tiling was complete, came the grouting. we found out T is pretty great at it but, it is incredibly tedious and messy so, there were lots of expletives used in the process. afterwards, we cleaned the concrete residue, our contractor sealed it and....drum roll please...here's the finished product (below)!  


i mean, how great is that?! we love it so much and couldn't be happier with how it turned out. and while i initially thought carpet was the best way to go, i'm happy T and our contractor stuck to their guns on switching to tile.

now comes decorating :)

Blogger template designed By The Sunday Studio.